

Posted by by Kendal & the Gubba Team
25th May 2022
Tiger Worms: why & how to start a worm farm
Wonderful worms! These squiggly, squirmy earth-dwellers can make some people squeamish. But they are the ultimate waste disposal experts, breaking down our refuse and transforming it into nutrient-rich castings that replenish and revitalise our soil. Starting a worm farm is a great method for diverting your organic household waste from landfill; read on to find out why & how to to start your own worm farm.
Vermicomposting with Tiger Worms
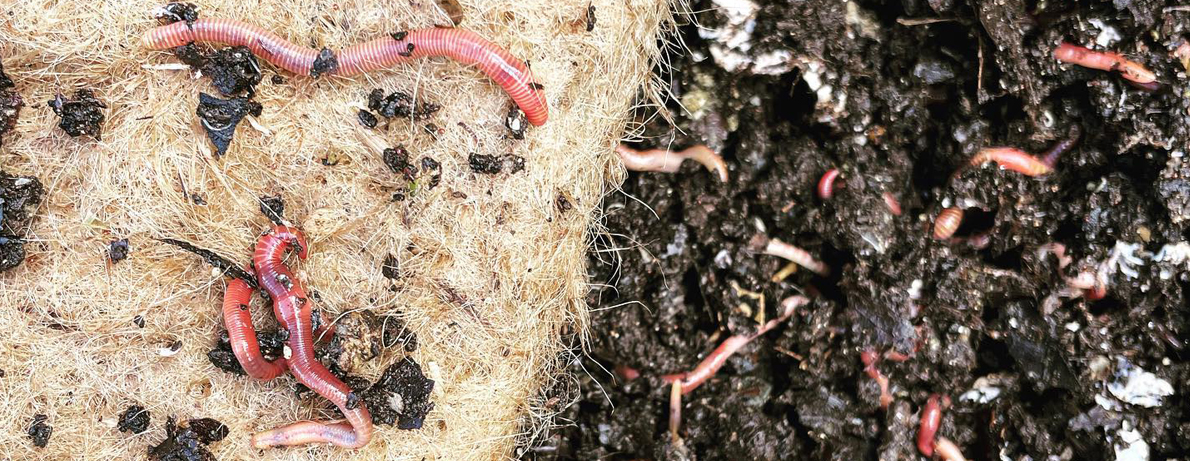
‘Vermicomposting’ is the use of worms for converting organic matter into a nutrient dense product known as vermicompost. In other words, worm farming! Here in New Zealand, we use Tiger Worms (Eisenia foetida). These worms have alternating red and yellow stripes along their bodies, hence the “tiger” name. These guzzlers can consume their body weight in food each day, making them perfect for worm farms and compost heaps. They live and feed close to the surface of the soil, and tend to stay in one area.
How does it happen? The worms eat soft, moist organic materials (they like decaying food scraps, compost, manure, and even sewage), and pass them out as ‘vermicast’ (often referred to as worm castings), and liquid ‘worm tea’. Worm castings and tea are packed with valuable minerals and nutrients, conditioning the surrounding soil and making a near-perfect organic fertiliser that plants can easily absorb.
Worm farming at home
Creating your own worm farm is a fantastic, efficient way to compost your kitchen scraps, diverting them from landfill & creating the perfect plant food for your garden. Once established, worm farms are relatively low maintenance - put your scraps in, and wait for the worms to do the work!
Starting your worm farm
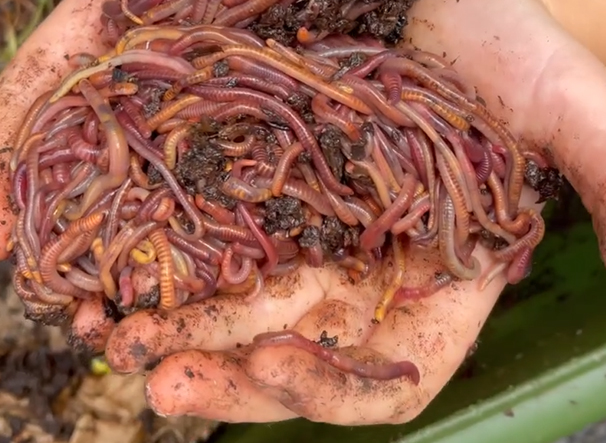
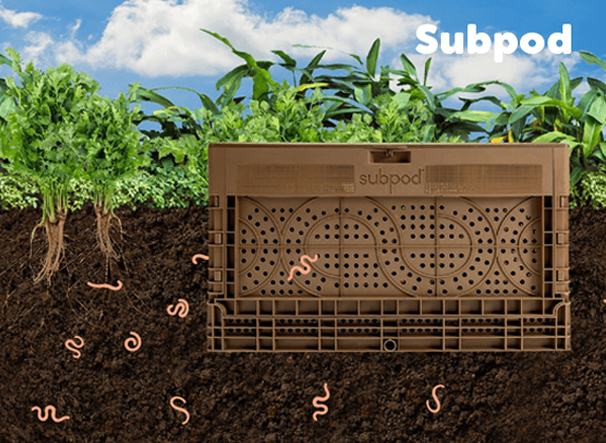
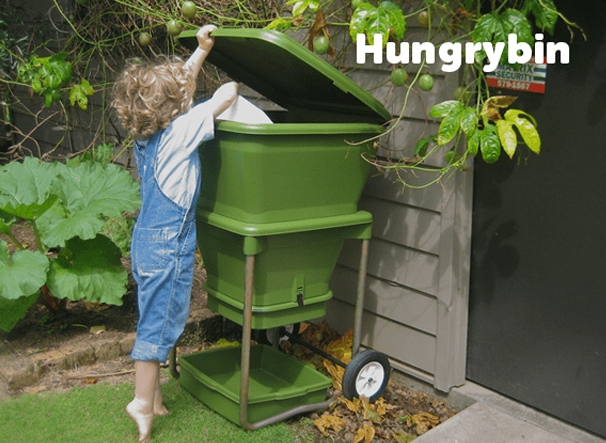
There are a number of different worm farm designs available - Hungybin, Subpod, and various tiered worm farm systems are popular options. Choose a sheltered, shady spot for your worm farm and start off with a bedding of shredded cardboard, compost, or coconut fibre for them to live in. You’ll want at least 250g Tiger Worms to get you going (that’s about 1000 worms).
Use a worm blanket to keep them covered - place this over top of the food (beneath the lid). Worms are sensitive to light, so this allows them to come up to the surface to feed. You can also use a simple piece of cardboard as a worm blanket (but beware they may begin to eat this!). You also need to make sure your worms are kept nice and moist by sprinkling water over the worm blanket every so often. Make sure they’re not too wet though - your worm farm should not appear soggy. If it becomes too sodden, mix in some dried leaves or paper to keep things aerated & to improve drainage.
Feeding your worms
How much food you place in your worm farm will depend on how many worms you’re starting off with - start by feeding in moderation, and you’ll be able to adjust as you go. You can expect 1kg of worms to eat about 5 kg of food per week.
Your worms will continue to breed, meaning the worm farm will be able to consume more over time. It can take a couple of months for your worm farm to reach full capacity; as a guide your Tiger Worm population will double their weight in about 4 months if conditions are ideal. Fun fact: worms will actually limit their breeding to the space & food available - how clever is that!
A good place to start is providing your worms with a 3cm (approx.) layer of food every one to two days. If you notice the food isn’t being eaten, you may have overfed them - don’t keep adding more! Stop for a few days until they catch up, as your worms won’t like lots of rotting food sitting on top of them. Also remember to cut your scraps up into smaller pieces - this helps the worms digest faster and speeds up the process.
Your worms will gobble up foods like egg shells, fresh fruits and vegetables, shredded paper or brown cardboard, coffee grounds, or tea bags. Try to give them a variety of foods, rather than just one type.
Things to avoid feeding your worms…
- Spicy foods
- Meat
- Dairy
- Pasta or bread
- Oils and fats
- Onion or garlic
- Citrus or other acidic foods
- Cooked foods
- Shiny/glossy paper or cardboard
…And you’re away!
Now that you’re all set up, you can sit back and let the worms do the heavy lifting. The method of harvesting your worm castings and worm tea will vary, depending on the type of worm farm you have chosen. Once harvested, just remember to dilute your worm tea with water before using it as a liquid fertiliser, as it will be very concentrated. You can use your castings as a top dressing, a side dressing, or worked in to the soil. Worm castings improve soil aeration, drainage, and water retention. They contain all the essential nutrients that plants need and can be used on any type of plant without the risk of nutrient burn!
These wriggly little creatures are real powerhouses that have so many benefits to offer. With a little effort, you’ll be reducing your waste, recycling nutrients back into the soil, and enhancing soil quality for a thriving garden - so many wins. Happy worm farming Gubba Gardeners!
P.s. Worm farming not for you, but still want the benefits for your garden? You can buy natural worm castings here.